📢 Exciting News! 🚀 Learn How to Create a QR Code Generator using Python, Flask, and QRcode!


Are you curious about building your own QR code generator using Python? Look no further! In this post, we will explore the power of Python and two fantastic libraries—Flask and QRcode— to create a custom QR code generator. Let's dive in!
Step 1: Setting up the Environment
First, make sure you have Python installed on your machine. You can download it from the official Python website. Additionally, install the Flask and QRcode libraries using pip, the Python package installer.
pip install Flask
and install Qrcode
pip install "qrcode[pil]"
Step 2: Creating a Flask Application
Import the necessary libraries and set up a basic Flask application. Flask is a lightweight web framework that allows us to build web applications with ease.
from flask import Flask, render_template
from functions import convert_to_qr

app = Flask("__main__")


@app.route('/')
def home():
    return render_template("index.html")

@app.route('/about')
def contact():
    return render_template("about.html")

@app.route("/api/<data>")
def qr_generator(data):
    imgData = convert_to_qr(data)
    return f"data:image/png;base64,{imgData}"

if __name__ == "__main__":
    app.run(debug=True)
import qrcode
import io
from base64 import b64encode,b64decode


def decodeData(data):
    DecodedData = b64decode(data)
    return DecodedData


def convert_to_qr(text):
    IoImage = io.BytesIO()
    img = qrcode.make(decodeData(text))
    img.save(IoImage,"PNG")
    return b64encode(IoImage.getvalue()).decode('ascii')
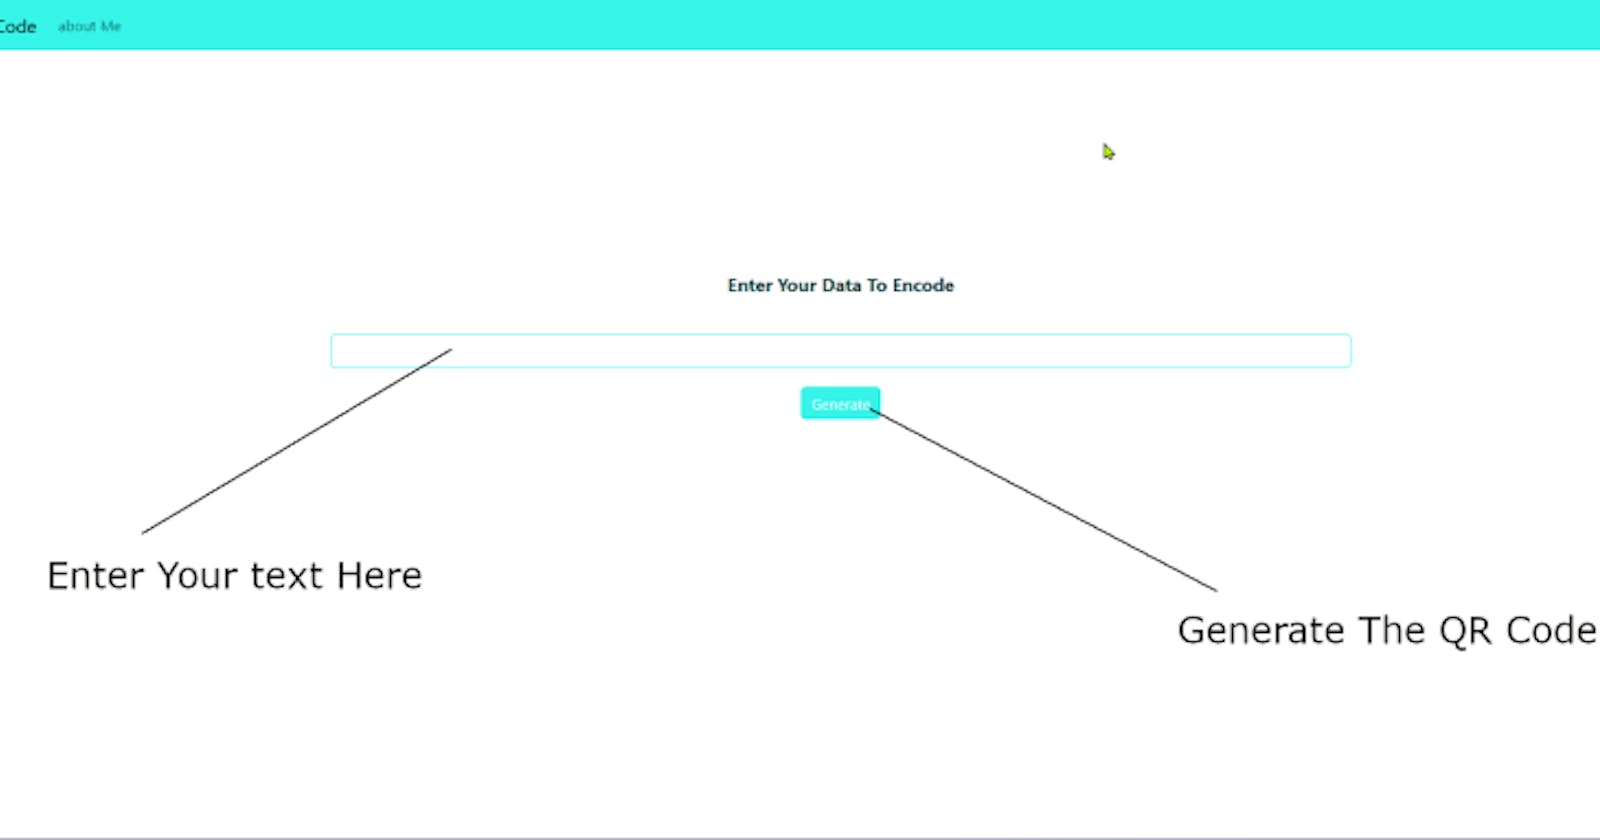
Step 3: Designing the User Interface
Create a simple HTML form where users can input their desired text or URL for generating a QR code. Use Flask's request object to retrieve the user's input.
base.html
<!DOCTYPE html>
<html lang="en">

<head>
    <meta charset="utf-8">
    <meta name="viewport" content="width=device-width, initial-scale=1.0, shrink-to-fit=no">
    <link href="data:image/x-icon;base64,AAABAAEAEBACAAAAAACwAAAAFgAAACgAAAAQAAAAIAAAAAEAAQAAAAAAQAAAAAAAAAAAAAAAAgAAAAAAAAAAAAAA////AAKnAAB6MgAASlIAAEtCAAB7AAAAAnkAAP/YAACDBQAAUGMAAPy/AAACQAAAel4AAEpSAABK0gAAel4AAAJAAAAAAAAAAAAAAAAAAAAAAAAAAAAAAAAAAAAAAAAAAAAAAAAAAAAAAAAAAAAAAAAAAAAAAAAAAAAAAAAAAAAAAAAA" rel="icon" type="image/x-icon" />
    <title>QrCode</title>
    <link rel="stylesheet" href="{{ url_for('static',filename='assets/bootstrap/css/bootstrap.min.css') }}">
    <link rel="stylesheet" href="{{ url_for('static',filename='assets/css/styles.css') }}">
</head>

<body style="border-color: var(--bs-border-color-translucent);">
    <nav class="navbar navbar-light navbar-expand-md sticky-top">
        <div class="container-fluid"><a class="navbar-brand" href="/">QrCode</a><button data-bs-toggle="collapse" class="navbar-toggler" data-bs-target="#navcol-1"><span class="visually-hidden">Toggle navigation</span><span class="navbar-toggler-icon"></span></button>
            <div class="collapse navbar-collapse" id="navcol-1">
                <ul class="navbar-nav">
                    <li class="nav-item"><a class="nav-link" href="/about">about Me</a></li>
                </ul>
            </div>
        </div>
    </nav>
    <div class="container main">
        {% block content %}{% endblock %}
    </div>
    <div class="modal fade" id="qrcodemodel" tabindex="-1" role="dialog" aria-labelledby="exampleModalCenterTitle" aria-hidden="true">
        <div class="modal-dialog modal-dialog-centered" role="document">
          <div class="modal-content">
            <div class="modal-header">
              <h5 class="modal-title" id="qrcodemodelTitle">QrCode Image</h5>
            </div>
            <div class="modal-body" style="text-align: center;">
              <img id="qrcodemodelImage">
              <p id="qrcodemodelData"></p>
            </div>
          </div>
        </div>
      </div>
    <script src="{{ url_for('static',filename='assets/bootstrap/js/bootstrap.min.js') }}"></script>
</body>

</html>
index.html
{% extends "base.html" %}

{% block content %}
<form><label class="form-label">Enter Your Data To Encode</label><input class="form-control shadow-none" type="text"><button class="btn btn-primary" type="button">Generate</button></form>
<script src="{{ url_for('static',filename='assets/js/jquery-3.7.0.js') }}"></script>
<script>
    $(document).ready(function() {
    $(window).keydown(function(event){
        if(event.keyCode == 13) {
        event.preventDefault();
        return false;
        }
    });
    });
    $(".btn").click(()=>{
        let input = $(".form-control").val()
        $.get(`/api/${btoa(input)}`,(data)=>{
            $("#qrcodemodelImage").attr('src',data)
            $("#qrcodemodelData").text(input)
            $('#qrcodemodel').modal('show');
        })
    })
</script>
{% endblock %}
Step 4: Running the Application
Launch your Flask application, and you're ready to go! Access the application through your browser, input the desired text or URL, and witness the magic as your personalized QR code appears.

The Output of the Qrcode

Step 5: Bonus Tips and Enhancements
Explore additional features, such as error handling, customizing the QR code design, or integrating other functionalities. With Python's versatility and the Flask and QRcode libraries at your disposal, the possibilities are endless!
Remember, this post serves as a starting point for your QR code generator project. Feel free to experiment, iterate, and take your creation to new heights!
So, are you excited to embark on this QR code generation journey with Python, Flask, and QRcode? Stay tuned for our upcoming post, where we'll dive deeper into each step and provide example code snippets. Get ready to unleash your coding skills and impress your friends with your very own QR code generator!
source Code here
Stay tuned for more updates and happy coding! 🎉✨